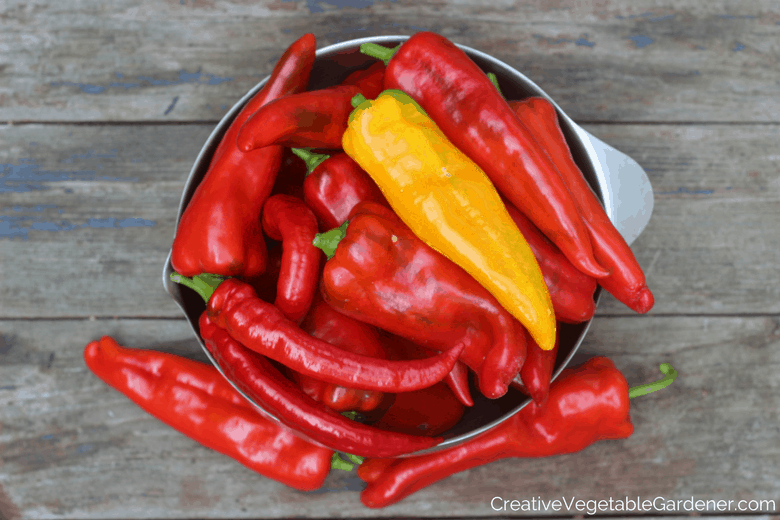

When you consider the high price of organic red (and yellow and orange) peppers at the grocery store, they might be one of the vegetables that are the most worth it to grow.
The taste of fresh red peppers from the garden is so amazing you’ll likely find yourself snacking on them before they make it into the kitchen for a recipe.
At our house during the pepper harvest season we eat as many as possible in favorite summer dishes, and then when we get our fill we freeze peppers for winter, throw them in our favorite salsa recipe, and make roasted red peppers for winter hummus wraps.
They’re so versatile, I think peppers are one of the most exciting and rewarding vegetables to grow. Every season I grow between 30-35 sweet and hot pepper plants.
But, peppers are one of the vegetables that can be tricky to grow, especially if you live in a northern climate.
Hot peppers are generally pretty easy, but if you’re aiming for red, orange, or yellow sweet peppers you might have a history of being disappointed by your plants.
This is because the varieties of peppers you choose to grow will very much determine the success you’ll have.
Over the years I’ve experimented with growing many, many different varieties of peppers in an effort to identify which ones are the best performing in my zone 5 garden.
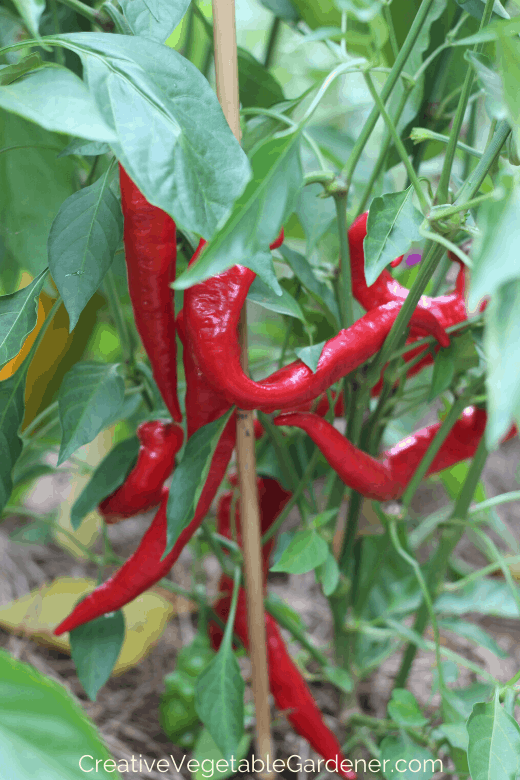
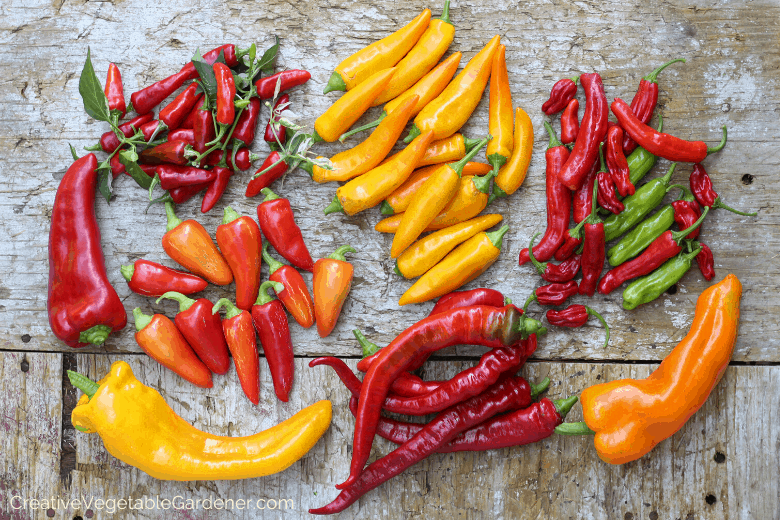
Over the last 18 years of being a home gardener, the award for the best sweet pepper varieties have consistently gone to the same two pepper varieties year after year. (Carmen and Jimmy Nardello.)
Unfortunately, it can be difficult to hunt down these varieties as plants in the spring at local nurseries and farmers markets. That’s why, if you love the idea of growing sweet peppers, it’s worth it to grow your own seeds.
Starting peppers indoors in late winter will allow you to experiment and find the best varieties for your garden.
Plus, as a seed starter, you have access to so many more interesting and unique colors, shapes, and varieties of peppers than you do if you buy your plants in spring.
Not only can peppers be tricky to grow as plants, the seeds can also be difficult to germinate. Before I figured out a solid process, I had several frustrating years where I could not get my pepper seeds to germinate well.
In an effort to help you skip over the mistakes I made, I’m sharing the step-by-step process I use for successfully starting peppers indoors each winter.
This post contains affiliate links.
Expert Tips for How to Grow Peppers
Tip #1: Supply Extra Heat
I’ve been growing red peppers in my garden successfully for many years, but I’ve had trouble during the seed starting process with getting them to germinate.
Peppers like very warm temperatures for germination. A soil temperature of 85 degrees F is ideal. In cold weather areas like mine, this high temperature is difficult to provide in most homes during winter.
I’ve found that providing supplemental heat to my peppers during germination ensures a quick and even sprouting of almost 100% of the seeds I planted.
Over the years I’ve had the best success with using either a seedling heat mat underneath newly planted seed trays or an electric soil warming cable buried in the soil of the tray.
I’ll talk more about both in the steps below.
Tip #2: Start Early, But Not Too Early
Peppers should be started about 10 weeks before your last frost. Although I’ve found that with the extra heat of a cable or heat mat my plants grow pretty quickly.
I don’t like my seedlings to be oversized when I plant them in the garden in May, so I’ve been experimenting with pushing my start date back an extra week or two.
If you find that your plants get too big with the added heat, start them 8 weeks before your last frost instead.
The Step-by-step Process For Successfully Starting Peppers Indoors
Step 1: Moisten your seed starting mix
Never plant seeds directly into dry soil. You need to pre-moisten your seed starting mix before planting in it so the seeds don’t float to the top when you do water them.
Put some mix into a watertight container like a bucket or dish tub and add water until it’s moist, but not wet.
If you’re not sure what to use for seed starting mix, read this post.
Step 2: Fill your pots with soil
You can use all kinds of containers for starting peppers indoors. You can make your own newspaper pots, buy paper containers, use standard plastic cell packs, or farm style trays for larger quantities.
What container you use doesn’t really matter that much. Choose something that fits in well with your seed starting set up.
The most important considerations are using a high quality seed starting mix and making sure whatever containers you do use have drainage holes.
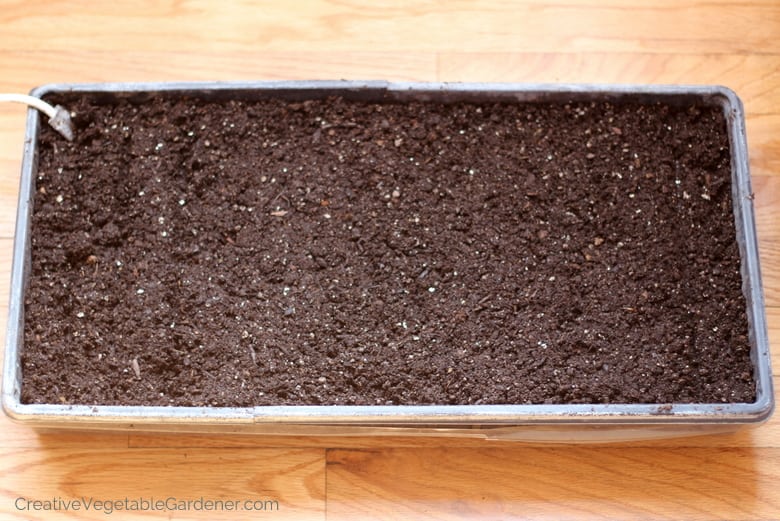
Fill your pot/cell packs/tray with the soil mix almost to the top. Because I start a lot of pepper seeds, I like to use a growing tray. (Note that this tray has holes for drainage so you’ll have to put something under it to catch the water.)
If you’re only starting a few seeds you can use pots, 4-pack or 6-pack plastic containers, or whatever you prefer.

If you’ve decided to use a heating coil, you need to install the coil before filling the tray with soil. You can see the heating coil popping out of the upper left hand corner in the photo below.
Step 3: Plant your seeds.
If you’re using a cell pack or pot, scrape a bit of the soil on the top aside with your finger. (Not too deep!) Drop a seed into the space and then cover it back up with the soil you scraped away.
Pat it gently to make sure the seed is in contact with the soil. You don’t need to press down hard, seeds do best with some air circulation around them.
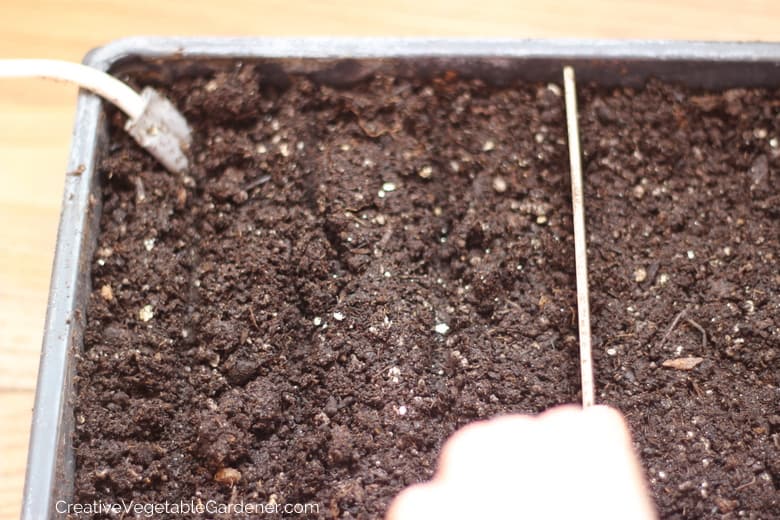
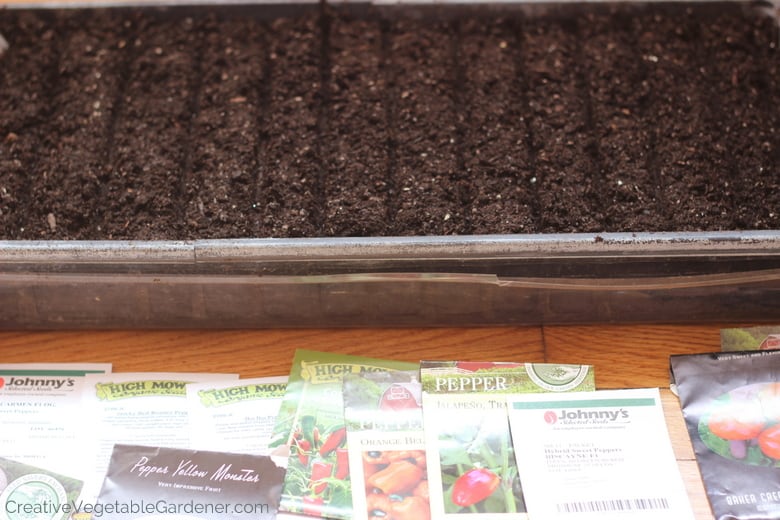
If you’re a pepper starting addict like me and are planting in a tray, you can use a wooden plant label to make rows across the flat.
Short rows across the width allow you to seed a higher number of varieties.
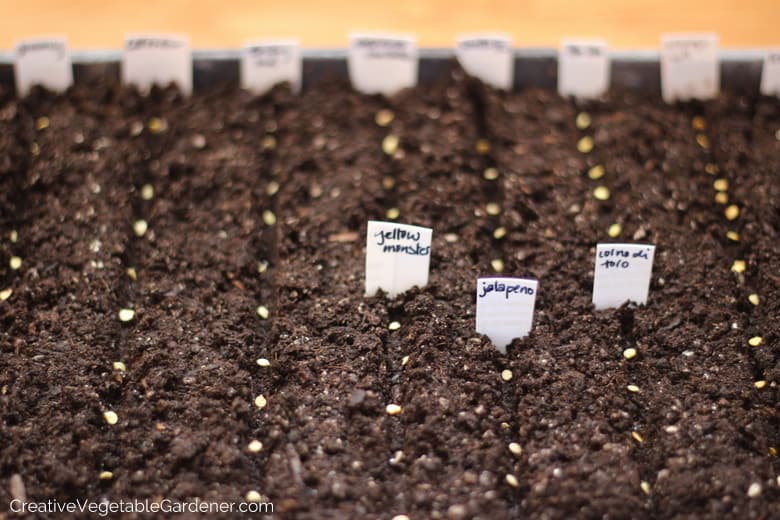
Place about 10 seeds down each row about an inch or so apart. (See photo below.) Then use your fingers to pinch the soil back over the seed rows.
Again, no need to pat down firmly, just make sure the seeds are covered completely with soil.
.
Step 4: Label your rows/packs/cells
As you finish seeding each variety make sure you label it with the name. If you’re planting several different varieties it’s best to keep them in separate packs, rows, or pots.
There are plenty of commercial plant tags you can buy – bamboo, plastic, or metal. Or you can make your own. I save old yogurt containers throughout the year and cut them into strips for plant labels.
A farm where I worked collected old metal blinds and cut those into labels. Feel free to be creative!.
All of the supplies we’re talking about in this post are gathered into one place in my Amazon storefront here. If you prefer to shop on Etsy, I have a list going there, too.
Step 5: Water the seeds
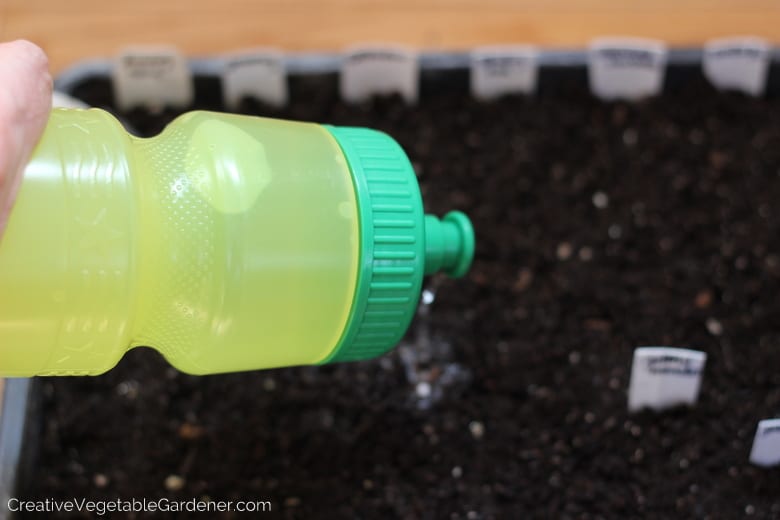
Make sure to water the seeds well to encourage germination. Seeds like to be moist but not soaked. I like using a bike water bottle to control the flow and ensure I’m not making a big mess in my living room.
Step 6: Keep Records
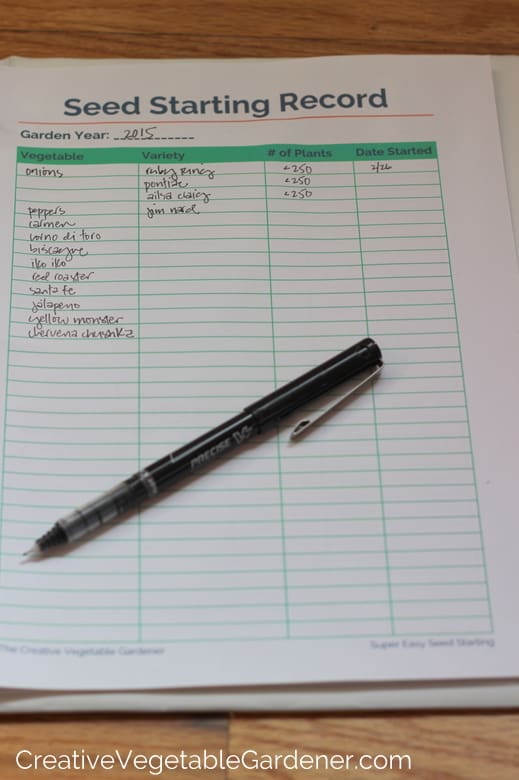
When you’re starting peppers indoors, don’t forget to keep records! You need to keep track of the varieties if you want to be able to evaluate them later in the season when they’re in the garden.
This is how you’ll be able to select the best varieties for your climate and garden over time.
To make it easy, you can print out a copy of my Seed Starting Record Template to use for yourself. Write down the pepper variety, amount you planted, and the date started.
Step 7: Use something to catch the water
Most of us are starting and caring for our seeds somewhere in our house. That means you don’t want water to get onto the floor or other surfaces.
It’s best to put the pots/seed trays/packs into another flat with no drainage holes or something else to catch any water leakage.
I walk you through the entire process of starting seeds, including a video demo of these steps, in my how-to video series, Super Easy Seed Starting. Find out more here.
Step 8: Use a germination chamber
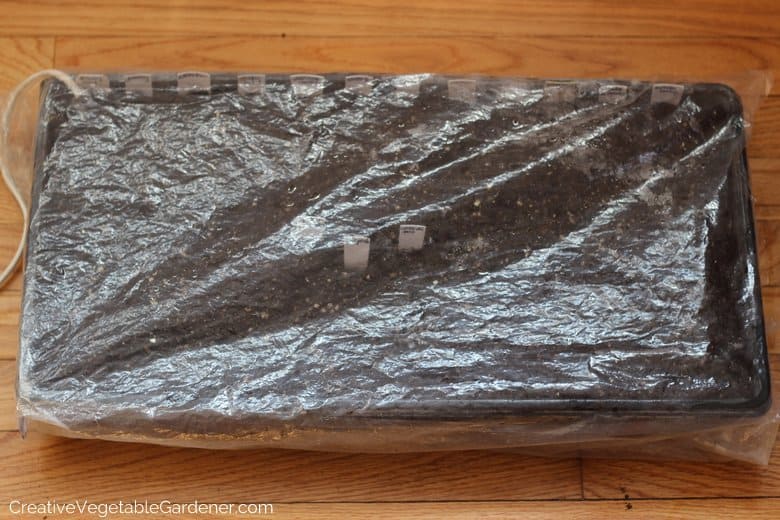
This is a great tip I learned from working at a CSA farm and assisting in their seed starting workdays. The farm where I worked used a much fancier set up, but you can make your own with a simple plastic bag.
A germination chamber holds in the heat and moisture and helps the seeds germinate more quickly.
You shouldn’t have to water the soil again until after germination.
Insert the tray into your “germination chamber”. I recommend using a large, clear plastic bag like the photo below. You can also use a clear plastic lid over the tray.
Step 9: Give the container some warmth.
We learned in the beginning of the post that starting peppers indoors can be tricky because they like very warm soil temperatures for germination – 85 degrees F.
This is difficult to provide without any extra heat unless you have a nice warm spot in your house. If you do, place your containers there.
Even with a wood stove in my living room I’ve had difficulties with pepper germination. That’s why I use a seedling heat mat placed under my flat to provide extra heat. To use it, you simply slide it under your tray or pots and plug it in.
It generates a constant low level heat that warms the soil. You can leave it plugged in until all of your seeds have germinated.
Step 10: Monitor your seeds daily
Using a germination chamber is a great hack to help your seeds germinate quickly, but once they do germinate they will not be happy living in a plastic bag. That’s why you need to keep a close watch on your germinating seeds.
As soon as the peppers germinate remove the tray from the plastic bag and place it under the lights on your seedling rack. If you leave them in the bag they’ll get leggy quickly and sometimes die if it’s too hot under there.
You can keep the seedling heat mat underneath the tray when you put it under the grow lights. I usually leave it plugged in for another week or two to give my plants a little jolt of growth because peppers tend to be slow growing.
Eventually I remove the heat mat and let the peppers grow in cooler temperatures.
Seed Starting Supplies & Resources
Whether you’re new to seed starting and don’t know where to begin, or you’ve got some experience but could use help refining your process, the Super Easy Seed Starting how-to video series will save you time by simplifying seed starting and help you achieve excellent results this year. Find out more here.
On this page you can find all of the seed starting posts I’ve written.
You can find all of my recommended garden supplies, books, tools, and more in my Amazon storefront here.
If you prefer to shop on Etsy, I have a large resource list going there, too.
You can do it!
Here’s the seed starting pep talk to end this post — you can do it! Starting peppers indoors is super fun.
It allows you to get the gardening season started early, gives you access to thousands of amazing varieties of vegetables you’d never find anywhere else, and the skills you learn broaden your gardening knowledge and experience.
It might seem overwhelming at first, but trust me, once you go through a seed starting season and master the basics it’s an easily repeatable process each year.
I wish you tons of fun exploring this exciting area of gardening this winter.
The post Behind the Scenes Secrets to Starting Peppers Indoors appeared first on Creative Vegetable Gardener.

